Reasons for maintenance mode in WordPress
Activate the WordPress maintenance mode, which can be for various reasons such as a redesign of your website or the reprogramming of your website? To ensure that your visitors do not see the associated ongoing changes, we recommend activating the maintenance mode. To create a professional maintenance site, there is a simple and quick method that we describe below.
When you don’t need maintenance mode
For normal ongoing changes to your website such as replacing text and images or creating new blog articles or new pages, you can simply leave your website online.
When to enable maintenance mode
Do you want to redesign your website or completely rearrange elements and areas? So as soon as there is major work on the website, you can activate maintenance mode. Maintenance mode is useful for the following work on the site:
- Building a new website
- WordPress website redesign
- Major updates to the theme/design
Major work on the WordPress website usually results in corresponding downtimes, during which the website visitors see an error message or the so-called “white screen of death”. Usually the error message “HTTP Error 503 – The service is unavailable” is displayed when you visit your website. This is not only unprofessional, but may also affect your ranking in the search engines if the website is down for a longer period of time.
If you also use a WooCommerce shop together with your WordPress site, your customers are often worried and wonder what happens to their orders and data. When using the WordPress maintenance mode, you show your visitors and customers that this is only a temporary update of the website and that they will come back to your website at a later date.
Show reason for maintenance work
You can view the maintenance reason, duration, and alternate contact details on the maintenance page. You can also show your customers the date when the website will be available again.
How is maintenance mode activated?
The procedure is relatively simple. You can enable WordPress maintenance mode in a number of ways. The easiest and fastest way is to use a suitable plugin.
Install Maintenance Mode Plugin
In your WordPress dashboard, you can search for the WP Maintenance Mode plugin under “Plugins” –> “Install” and then install and activate it.
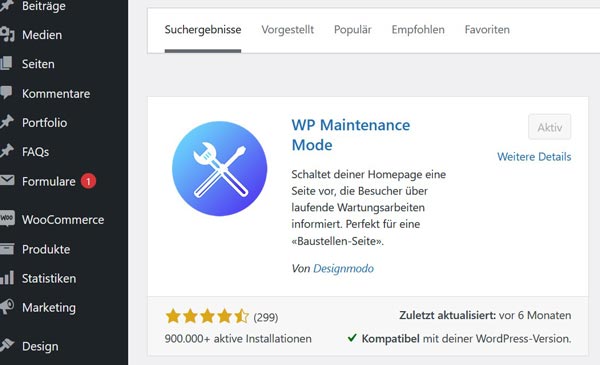
Activate maintenance mode in the plugin
After activation, the new option –> “WP Maintenance Mode” appears under –> “Settings”. By clicking on “Activated” your website will immediately be put into maintenance mode.
Feed and login pages are excluded from maintenance mode in the normal settings, you shouldn’t change that either. If you are only working on one subpage, then you can exclude all other pages from maintenance mode. This means that these pages can still be accessed online by visitors. The plugin shows you the activated maintenance mode in the dashboard so you don’t forget.
Maintenance mode page design
In the plugin menu there is an option to customize the design of the maintenance mode page. The standard texts can be customized here. In addition, the background is customizable to your liking. You can design the color or use background images from the plugin or upload your own background image.
Countdown function
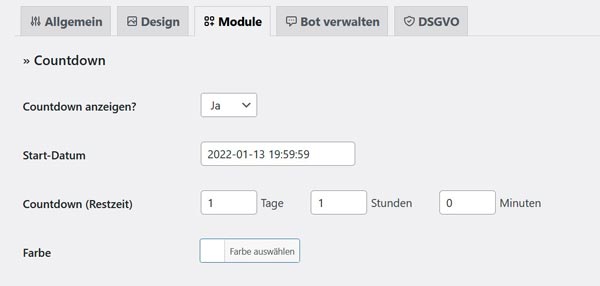
With the built-in Countdowns feature, you can let your visitors know when your website will be back online. In the Countdown function, you simply set the start date and the time that your website is in maintenance mode.
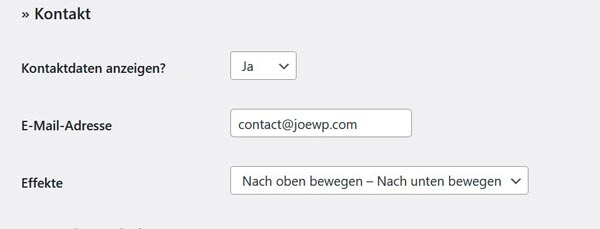
Contact details in maintenance mode
Further practical functions can be called up under “Modules”, with which you can, for example, activate a newsletter so that the e-mail address of the customer who registers is saved. You can export the email addresses as CVS. You won’t lose any customers that way. You can also link social networks. Your data protection page can also be integrated and linked.
Chatbot in maintenance mode
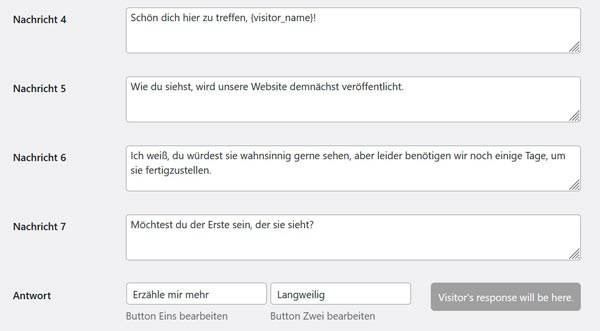
The WP Maintenance Mode plugin also offers the integration of its own chatbot. The chatbot can easily be integrated into the maintenance page and this way you can continue to communicate with your customers during maintenance.
Disable WordPress maintenance mode
When your updates and work on your website are complete, the WordPress maintenance mode must be deactivated again. In the plugin settings, all you have to do is deactivate the maintenance mode with a click by setting the status to “inactive”. The website is then online again.
Conclusion
There are a number of other providers for the maintenance mode, but the plugin “WP Maintenance Mode” is our favorite because of its easy configuration and the many useful functions.

